
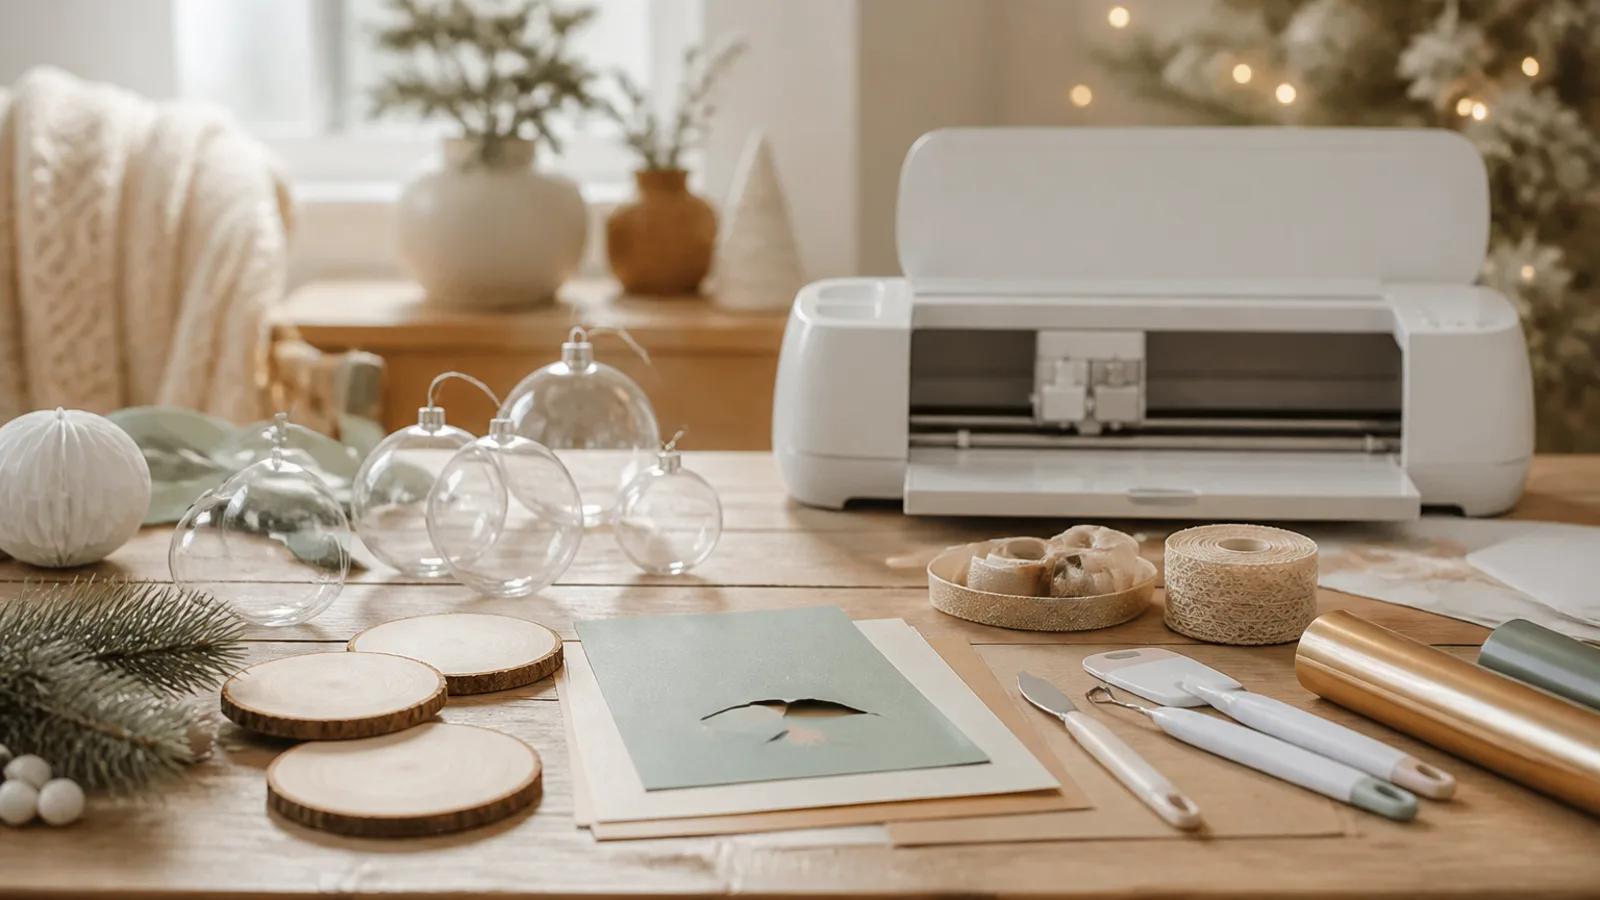
If you’ve been wanting to try diy christmas ornaments with cricut but feel a little nervous about the tiny details, you are not alone. The good news is that this is one of the most beginner-friendly holiday projects you can make, as long as you start simple, choose the right material, and give yourself permission to test a little before you commit to the final ornament. A few clean shapes, a name, a year, and a ribbon are often all you need for something that feels thoughtful and finished.
This guide keeps things calm and practical. You’ll find the easiest ornament materials, simple size tips, settings to test, and a step-by-step approach for vinyl, cardstock, and felt. The goal is not perfection. It’s to help you make ornaments you’d be happy to hang on your own tree or wrap as gifts.
What you need before you start
You do not need a huge craft stash to make attractive ornaments. For a first project, keep your tools and materials simple.
- Cricut machine and the usual basics: mat, blade, and weeding tool
- Ornament blanks: clear acrylic or plastic, wood, cardstock, or felt
- Adhesives: transfer tape for vinyl, glue dots or craft glue for paper, fabric glue or hot glue for felt
- Hanging supplies: ribbon, twine, cord, or embroidery floss
- Optional extras: paint pen, glitter, mini bows, beads, or small charms
Before you start, ask one question: what kind of ornament do I want to make? The answer will guide your material choice. For a clean, classic look, vinyl on a clear or wood blank is the easiest path. For something layered and colourful, cardstock works well. For a softer handmade look, felt is lovely, though it asks for a little more patience.
Choose the easiest ornament style for your skill level
Vinyl on clear or wood blanks
This is the most straightforward place to begin. A blank ornament and a single vinyl design can look polished without requiring a lot of parts or assembly. Names, dates, stars, snowflakes, and simple holiday words all work well.
Clear ornaments are especially useful if you want a delicate look. Wood blanks create a warmer, more rustic finish. Both options are forgiving because you are mostly applying one layer instead of building a complex design.
The trade-off is that tiny lettering and fine details can be tricky to weed. If this is your first time, choose a bold font and keep the design minimal.
Layered cardstock ornaments
Cardstock ornaments are a good choice if you want a more dimensional piece. They can be made as layered snowflakes, trees, stars, or gift-tag-style shapes. This is also a nice option if you want to use more than one colour.
The upside is that paper is easy to personalise and easy to replace if you make a mistake. The downside is that cardstock can bend or crease, especially if the ornament is handled a lot or packed away loosely after the holidays. Humidity and paper weight can also affect how neatly the layers sit together, so a quick test cut is worth it.
For best results, use sturdy cardstock and keep the layers simple. A little structure goes a long way.
Felt ornaments
Felt ornaments have a soft, handmade feel that works beautifully for family keepsakes. They are especially lovely for simple silhouettes, stitched details, and ornaments that children can help decorate.
The challenge is that felt is less precise than vinyl or paper. Cutting tiny shapes can be fiddly, and assembling the details takes time. That said, if you like a cosy, traditional look, felt can be very rewarding.
For a first project, choose a shape that is easy to recognise even without lots of detail: a tree, stocking, heart, mitten, or simple star.
How to size your design so it fits the ornament
One of the most common beginner mistakes is making the design too large or too detailed for the blank. Ornament surfaces are small, so the design has to breathe. Leave some empty space around the edge so the finished piece looks intentional, not crowded.
A few practical sizing habits help a lot:
- Keep the design simple and readable from a short distance
- Use short names, initials, or a single word instead of long phrases
- Avoid very thin fonts, narrow script, and tiny decorative flourishes
- Give curved ornaments a little extra margin so the design does not wrap awkwardly
- Make a paper mock-up or test cut before using the final material
For names and years, think in terms of balance rather than filling every inch. A small name with a tiny snowflake can often look better than a crowded design with several elements competing for attention.
If you are making a batch, it helps to use one template size for the whole set. That way, every ornament looks coordinated even when the names change.
Setting up your Cricut for small ornament projects
Small projects are where a test cut earns its keep. A little trial piece can save you from wasting a whole sheet of vinyl or cardstock. It also gives you a better sense of how your machine is behaving that day.
Start with a test cut
Before cutting the final ornament design, use a scrap from the same material. You want to check whether the cut is clean, whether the edges lift well, and whether the material tears when you weed it.
If the test cut looks rough, do not force the project. Adjust the pressure or choose a different setting and try again. Different brands of vinyl, cardstock, and felt can behave differently, even when they look similar on the package.
Basic settings to check
You do not need to memorise a perfect setting chart. Just pay attention to the relationship between material, pressure, and the depth of the cut.
- Vinyl: choose a vinyl setting and keep the blade sharp and clean
- Cardstock: use a standard cardstock setting, then test whether the cut releases cleanly
- Felt: use a fabric or felt-friendly setting and make sure the material is secure on the mat
One simple troubleshooting habit can make a big difference: if vinyl is not releasing from the backing paper, burnish the back of the liner with a scraper tool and peel the liner back slowly at a sharp angle rather than pulling straight up.
The important thing is not getting the “right” setting on the first attempt. It is learning how your machine responds so you can adjust with confidence.
DIY Christmas ornaments with Cricut: a simple vinyl method
If you want the easiest first project, start here. Vinyl ornaments are quick, neat, and great for names and dates.
- Choose a simple design. A first name, year, or single holiday word is a good place to start.
- Size it for the blank. Leave room at the edges and avoid the temptation to fill every space.
- Cut the design. Use a clean blade and a test cut if the material is unfamiliar.
- Weed slowly. Remove the extra vinyl carefully, especially around the inside of letters.
- Prepare the ornament. Wipe the blank clean so dust or fingerprints do not interfere with the adhesive.
- Apply transfer tape. Burnish firmly so the vinyl lifts evenly from the backing.
- Position and press. Place the design, smooth it down, and rub over the letters again before peeling away the tape.
Curved blanks can be a little awkward, so do not rush the transfer. It often helps to press from the centre outward to reduce bubbles and wrinkling. If the ornament is clear, decide whether you want the design on the outside for a bold look or on the inside for a more protected finish.
For a polished result, keep the embellishment minimal. A ribbon or twine hanger, plus one neat design, is often enough.
How to make layered cardstock ornaments
Cardstock ornaments are a lovely choice if you want to add colour without working with many tiny vinyl pieces. They are especially nice for trees, stars, snowflakes, and gift-tag shapes.
- Cut each layer separately. Keep the pieces organised by colour or shape.
- Flatten any curl. Paper sometimes holds a bend after cutting, so gently flatten it before assembly.
- Dry-fit the layers. Arrange them before gluing to make sure the edges line up the way you want.
- Use a small amount of glue. Too much adhesive can cause warping or show through the edges.
- Press and hold. Give the layers time to settle before adding a hanger.
When you make cardstock ornaments, resist the urge to overbuild. A clean two- or three-layer design often looks better than one that is overloaded with extra pieces. If you want more detail, choose a stronger silhouette rather than adding tiny cutouts that are hard to align.
These ornaments are also easy to personalise for a family set. You can keep the same base design and swap out names or years for each person.
How to make felt ornaments without frustration
Felt has a handmade charm that suits cosy holiday decorating, but it rewards patience. The easiest beginner felt ornaments are simple shapes with a few attached details.
- Pick a forgiving shape. A star, tree, mitten, or round bauble is easier than a very intricate silhouette.
- Cut cleanly. Make sure the felt is flat and well secured before cutting.
- Keep the details simple. Use stars, dots, or initials instead of tiny elaborate motifs.
- Attach with care. Fabric glue or a few careful stitches usually works better than a heavy layer of glue.
- Add the hanger last. Choose ribbon, twine, or embroidery floss that complements the felt colour.
If you want to decorate felt ornaments with names or tiny accents, keep the design bold and readable. Thin lettering and very small pieces tend to disappear against the texture of the fabric.
For a family-friendly project, felt is especially nice because it feels a little more relaxed than vinyl. If a piece is slightly imperfect, it still looks charming.
Personalising with names, years, and family traditions
Personalisation is what turns a pretty ornament into something people keep. Names and years are the easiest place to start, but there are many simple ways to make each piece feel meaningful.
- Family surname and year: a classic option for a shared tree ornament
- First names: ideal for a set of matching ornaments
- Baby’s first Christmas: sweet for a keepsake gift
- Pet names: a fun way to include the whole household
- A short word: Joy, Peace, Love, or Noelle can work beautifully
Keep the typography consistent if you are making several ornaments at once. One font, one colour palette, and one style of ribbon can make a batch look cohesive even when the names differ.
If you are making ornaments as a family tradition, consider creating one new design each year. That keeps the project fresh and gives everyone something to look forward to. Over time, the tree becomes a little record of your seasons together.
Common mistakes to avoid
Most beginner mistakes are easy to avoid once you know what to watch for.
- Making the design too detailed. Tiny stars, thin flourishes, and crowded text are harder to weed and apply.
- Skipping the test cut. This is the fastest way to waste material.
- Using too much glue. A small amount is usually enough for paper and felt.
- Forgetting about the shape of the blank. Curved surfaces need a little more care than flat ones.
- Rushing the transfer. Slow peeling helps prevent lifting or tearing.
If something does go wrong, do not scrap the whole project immediately. Small imperfections can sometimes be hidden with a ribbon, a bow, or a thoughtfully placed embellishment. Crafting gets much easier when you stop expecting every piece to look machine-perfect.
How to turn one project into a batch of gifts
Once you have made one ornament successfully, it is easy to turn the project into a small batch. That is one reason this craft works so well in November. You can make a few now, then keep a couple aside for gifts, neighbour treats, teacher presents, or stocking fillers.
A simple batch workflow looks like this:
- Choose one base shape and one font
- Cut several blanks or several design copies at once
- Personalise each one with a different name or year
- Assembly-line the steps: cut, weed, apply, finish
- Wrap each ornament in tissue or place it in a small box
This is where repetition becomes helpful rather than boring. When you repeat the same steps, your hands learn the process, and the results usually become neater. A simple design can look very special when it is made with care and given as a gift.
It also helps to choose a packaging style in advance. A loop of ribbon through the top, a handwritten tag, and a small box or envelope can make even a modest ornament feel finished.
Quick project ideas to try first
If you are not sure where to start, try one of these beginner-friendly versions:
- A clear ornament with a single name and a tiny snowflake
- A wood circle with a family surname and year
- A layered cardstock tree in two holiday colours
- A felt star with a stitched initial in the centre
- A simple bauble gift tag that can be hung on a present and then kept for the tree
These ideas all keep the design small, readable, and realistic for a first attempt. If you want to keep the design process simple, start with a cut-ready file, choose one of your own family names or dates, and let the material do the decorating.
FAQ
What Cricut material is easiest for Christmas ornaments?
For most beginners, vinyl on a clear or wood blank is the easiest place to start. It uses fewer layers, looks polished, and is easier to assemble than more complex paper or felt projects.
Can I make DIY Christmas ornaments with Cricut without using vinyl?
Yes. Cardstock and felt both work well, and each gives a different look. Cardstock is great for layered paper ornaments, while felt creates a softer handmade style.
How do I stop tiny letters from tearing when I weed them?
Use a simple, thicker font and weed slowly. A fresh blade, a clean cut, and a larger design usually help more than forcing delicate lettering to work at a very small size.
What size should a Cricut ornament design be?
It depends on the blank, but the safest approach is to leave a border around the edges and keep the design modest. If you are unsure, cut a paper version first and check how it looks on the ornament.
Are Cricut ornaments good for gifts or just for home decor?
They work well for both. A personalised ornament can be a small home keepsake or a thoughtful gift, especially when made with a name, year, or short message.
Making diy christmas ornaments with cricut is one of those projects that gets easier the moment you stop trying to make it complicated. Start with one simple design, one material, and one blank shape. Once you finish the first ornament, the rest feel far less intimidating. From there, you can build a small collection for your own tree, make gifts for people you love, or start a tradition that comes back every November.
Disclosure: StudioSVG is a sister brand of Maallure.





Join the conversation
Sign in — Sign in to join the conversation.