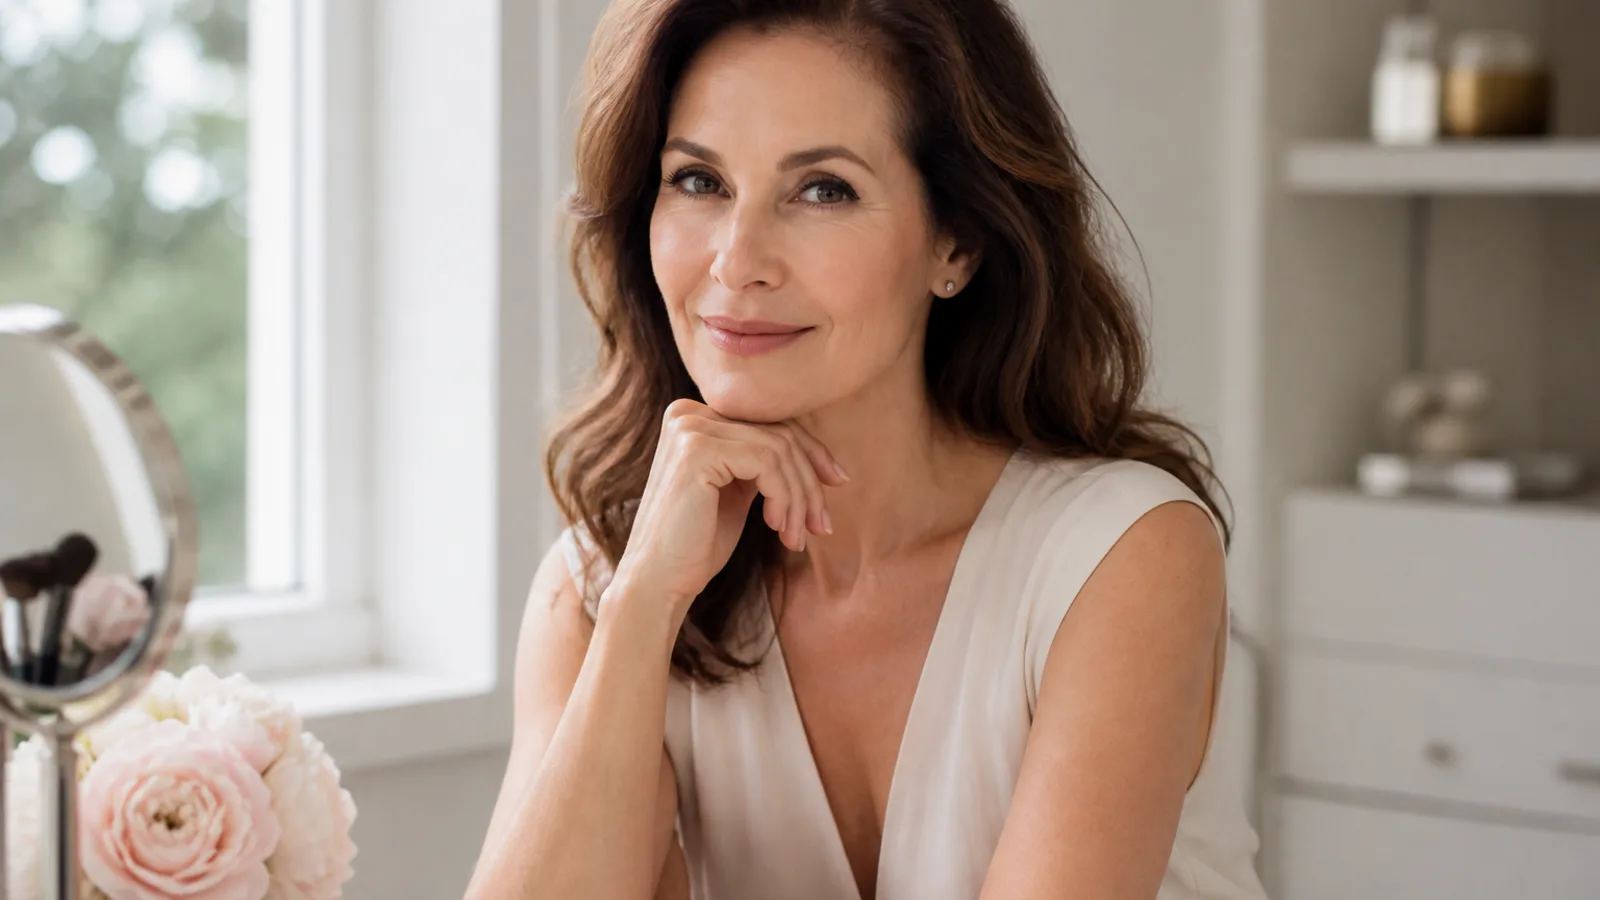
Your face has not become harder to make up. It has simply changed, and your technique can change with it. The best makeup tips for mature skin are not about covering every line or chasing a younger version of yourself. They are about making your skin look comfortable, adding colour where it lifts, defining features softly and choosing textures that move with your face instead of sitting on top of it.
Mature skin can be radiant, expressive and beautiful. It may also be drier, more textured, less firm in certain areas or more prone to makeup settling into lines. That does not mean you need more product. Often, you need less, placed more thoughtfully.
These 12 techniques focus on prep, placement and subtle definition, so your makeup looks fresh rather than heavy.
Makeup tips for mature skin: what to change first
The biggest shift is this: mature makeup is less about full coverage and more about strategic enhancement. A thick layer of foundation, a heavy triangle of concealer, powder all over and sharp black liner may have worked beautifully at one stage. But if those steps now make your skin look dry, flat or tired, the routine needs adjusting, not your face.
Think in three words: thin, soft and lifted. Thin layers keep skin looking like skin. Soft edges make colour and definition more flattering. Lifted placement helps blush, bronzer, brows and liner work with the natural structure of your face.
The goal is not to erase age. The goal is to look like yourself on a well-rested, well-lit day.
1. Prep with hydration, not heaviness
Makeup almost always looks better on skin that feels comfortable. Mature skin is often drier, especially around the cheeks, mouth and under-eyes, so hydration matters. But more skincare is not always better right before makeup.
Layering rich creams, oils and balms immediately before foundation can cause makeup to slide, separate or settle. Aim for balanced prep: moisturised, cushioned skin that is not greasy.
- Cleanse gently, or simply rinse in the morning if your skin does not need a full cleanse.
- Apply moisturiser and let it absorb for a few minutes.
- Use daily sunscreen as your final skincare step before makeup. The American Academy of Dermatology has straightforward guidance on choosing sunscreen.
- If you need extra moisture, add it before sunscreen, or choose a hydrating sunscreen that gives enough comfort on its own.
Avoid pressing moisturiser or facial oil over sunscreen right before makeup, as it can disturb the protective layer and encourage pilling. If makeup often catches around your mouth or nose, give your skincare and sunscreen a few extra minutes to settle, then apply base there last.
2. Use primer only where it earns its place
Primer should solve a specific problem. If it does not make makeup smoother, longer-wearing or more comfortable, you can skip it.
Use primer like a targeted tool:
- Smoothing primer: Tap around the nose, chin or areas with visible pores.
- Hydrating primer: Use on cheeks or patches that drink up foundation.
- Grip primer: Reserve for days when makeup genuinely disappears quickly.
If your cheeks are dry but your T-zone gets shiny, do not use the same primer across both. Tap a smoothing primer only where texture bothers you, then leave naturally radiant areas alone.
3. Choose a flexible, skin-like base
Mature skin often looks freshest when the base is sheer to medium rather than full coverage all over. Tinted moisturisers, skin tints, serum foundations and satin-finish foundations can even the complexion without masking natural dimension.
This does not mean you must avoid coverage. It means you place coverage where it helps.
- Start in the centre of the face, where redness or uneven tone is often most visible.
- Blend outward with fingers, a brush or a damp sponge.
- Stop before the skin looks completely blanked out.
- Add coverage only where you still want it.
If a foundation looks heavy, try mixing a small amount with moisturiser on the back of your hand. You can also apply it with a damp sponge to sheer it out. The finish should still look like skin when you turn your face in natural light.
4. Conceal strategically instead of layering foundation
Concealer can be more flattering than extra foundation, but only when used sparingly. Instead of building foundation across the whole face to cover a few specific areas, use a small brush to pinpoint redness, pigmentation, broken capillaries or shadows.
For the under-eye area, the old large triangle of pale concealer can look obvious and crease quickly. A more modern approach is lighter and more precise:
- Place a small amount of concealer at the inner corner, where many people have the deepest shadow.
- Blend gently outward, keeping product thin under the lash line.
- Add a dot at the outer corner only if it helps lift darkness there.
- Avoid taking thick concealer right up to every fine line unless you truly need it.
If under-eye concealer creases, let it sit for a minute, then tap away excess with a fingertip or sponge before setting. Often, creasing is caused by too much product rather than the wrong product.
5. Set with powder only where makeup moves
Powder is not the enemy. Too much powder is the problem. Used lightly, powder can keep concealer from creasing, reduce shine around the nose and help makeup last under glasses. Used everywhere, it can make mature skin look dry or textured.
Focus powder where makeup shifts:
- Sides of the nose
- Chin
- Between the brows
- Under glasses pads
- The smallest crease-prone part of the under-eye
Use a small fluffy brush or a powder puff and press lightly rather than sweeping a large brush across your entire face. Leave the cheeks with a little life and luminosity.
6. Swap harsh contour for soft warmth and shape
As facial volume changes, strong contour can become less forgiving. A stripe under the cheekbone may look muddy or severe, especially in daylight. Soft warmth is usually easier to wear.
Try a cream bronzer or a neutral sculpting shade applied slightly higher than you may be used to. Start near the top of the ear and blend toward the cheekbone, stopping before the smile line. Blend upward rather than dragging downward.
The aim is not to carve out a new face. It is to bring gentle structure back to the face while keeping the centre bright and fresh.
7. Place blush higher for a lifted look
As facial structure naturally softens, cheek colour placed too low can pull the visual centre of the face downward. Blush is still one of the freshest steps in a routine; it simply needs a slightly higher home.
Instead of smiling and applying blush directly to the apples of your cheeks, look straight ahead in the mirror with your face relaxed. Place blush on the upper cheek, no lower than the bottom of your nose, then blend toward the temple.
Cream and liquid blushes often look especially fresh because they melt into the skin. Powder blush can also be beautiful; just use a light hand and avoid a dry, chalky finish.
- Tap blush onto the upper cheekbone area.
- Blend upward and outward with fingers, brush or sponge.
- Keep most of the colour on the outer half of the face if you want more lift.
- Add a tiny second layer only if needed.
8. Use highlighter as glow, not glitter
Radiance looks most modern when it appears to come from the skin, not sit as sparkle on top of it. If you enjoy highlighter, choose subtle cream, balm or liquid formulas with a soft sheen rather than visible glitter.
Tap a tiny amount onto the top of the cheekbone, then blur the edges with your fingertip. Avoid taking highlighter too close to the under-eye area if it emphasises fine lines, and skip areas where pores or texture are not something you want to spotlight.
If highlighter never looks right on you, try this instead: use a slightly dewier blush and leave your cheekbones powder-free. That gives a natural glow without a separate shimmer step.
9. Fill brows softly to frame the face
Brows often become lighter, sparser or less defined over time. Restoring a little shape can make the whole face look more awake. The trick is to avoid making brows too dark, too square or too heavy.
Brush the brows upward first. This shows you where the gaps are. Then use fine pencil strokes, a soft powder or tinted brow gel to fill only what is missing.
Colour matters. If your hair is silver, grey or cool-toned, warm brown brow pencils can look orange against it. Cool taupe, ash brown or soft grey usually looks more natural. If you are unsure, choose a shade slightly softer and cooler than you think you need.
- Keep the front of the brow soft and airy.
- Fill gaps through the arch with tiny hair-like strokes.
- Extend the tail slightly if it has shortened, but do not angle it downward.
- Set with clear or tinted gel if your brows move during the day.
A lifted brow tail can subtly open the eye area. A tail drawn too low can make the eyes look more tired.
10. Adapt eye makeup for hooded or softer lids
Many people develop more hooding or softness around the lids with age. This does not mean you have to give up eye shadow. It means the placement needs to be visible when your eyes are open.
Use a smaller brush than you think. A large fluffy blending brush can spread shadow too high and too wide. For mapping shape, try a small tapered blending brush, a semi-dense crease brush or a pencil brush, then soften the edges with a clean brush.
Keep your chin level and look straight ahead into the mirror. Do not tilt your head back while creating the crease, because the shadow may disappear once your face returns to its natural position. Place a soft mid-tone shadow slightly above the fold where you can see it with your eyes open.
Easy hooded-lid shadow map
- Light neutral: Apply to the mobile lid to keep the eye area bright.
- Mid-tone shade: Blend slightly above the crease with your eyes open.
- Soft depth: Add a little shadow to the outer corner, angled gently upward.
- Optional brightness: Tap a subtle satin shade at the inner corner.
- Clean edge: Blend outward and upward, not downward.
Matte and satin textures are often easier than very frosty shadows across the entire lid. If you love shimmer, wear it intentionally: a touch on the centre of the lid or inner corner can look elegant without overwhelming the eye.
11. Trade heavy liner for soft definition
Thick black liquid liner can take up precious lid space, especially on hooded eyes. It can also make the eyes look smaller if it forms a hard band. Softer liner usually gives more flattering definition.
Try brown, charcoal, deep plum or navy instead of stark black. Press the colour close to the upper lashes rather than drawing a thick line above them. A pencil or dark shadow applied with a small angled brush is often more forgiving than liquid liner.
For a fuller lash effect, tightline the upper lash line by placing colour between the lashes. Then smudge a little shadow at the outer third of the eye, lifting slightly upward.
Be cautious with heavy lower liner all the way around the eye. If you like definition below, keep it soft and focus on the outer third, or use a lighter taupe or brown shadow instead of a dark pencil.
12. Refresh lips without harsh overlining
Lips can become drier, thinner or less defined over time. A little prep and soft structure make a big difference.
Start with balm, especially if you are wearing lipstick later. Let it sit while you do the rest of your makeup, then blot before applying colour. This keeps lips comfortable without making lipstick slide around.
Use a liner close to your natural lip colour or your lipstick shade. If your natural lip pigment has faded, matching it exactly may wash you out; instead, look for a shade that mimics the healthy flush of your inner lip or your natural cheek colour.
Trace the natural border, then soften the line with a fingertip or brush. If you want to slightly overline, keep it subtle and focus on the cupid’s bow or the centre of the lower lip. Avoid overlining the corners, which can look obvious quickly.
Cream, satin and balm-like lip colours are usually more forgiving than very dry matte formulas. If you like a fuller look, tap a small amount of gloss or balm just in the centre of the lips.
What to swap from your old routine
Sometimes the easiest way to update your makeup is not to buy everything new. It is to change the order, amount, formula and placement of what you already own.
- Swap full foundation everywhere for a skin tint, tinted moisturiser or thin satin base plus targeted concealer.
- Swap baking for pinpoint powdering with a small puff or brush only where makeup creases or moves.
- Swap low blush on the apples for cream, liquid or finely milled powder blush placed higher and blended toward the temples.
- Swap harsh contour for cream bronzer, a soft neutral sculpting stick or a sheer powder bronzer placed slightly higher.
- Swap thick black liner for brown, charcoal, plum or navy pencil pressed close to the lashes.
- Swap blocky brows for fine pencil strokes, cool taupe powder or tinted gel.
- Swap flat liquid mattes for hydrating satin lipsticks, tinted treatment balms, lip oils with pigment or creamy pencils topped with balm.
- Swap glittery highlighter for a subtle cream sheen or simply a dewier blush.
Think of the difference this way: the older routine may have been primer all over, full foundation, triangle concealer, powder everywhere, low blush, black liner and matte lipstick. The fresher version is moisturised skin, a thin base, spot concealer, powder only where needed, high blush, soft brown liner and a creamy lip.
A simple 10-minute mature skin makeup routine
For everyday makeup, you do not need twelve separate steps. You can use these techniques in a shorter routine that brings back colour and definition quickly.
- Apply moisturiser and sunscreen, then let them settle.
- Use a sheer base only where you want evening out.
- Conceal redness and inner-eye shadows with a small amount of product.
- Tap cream blush high on the cheeks and blend upward.
- Brush brows up and fill sparse areas softly.
- Place a mid-tone shadow just above the crease with eyes open.
- Press liner close to the upper lashes or smudge the outer third.
- Apply mascara, focusing on lifting the outer lashes.
- Line lips softly and apply creamy lipstick or tinted balm.
- Powder only the areas that crease or shine too much.
If you have only three minutes, focus on brows, blush and lips. Those three steps usually bring back the most visible structure, colour and energy.
Common mistakes that can make makeup look heavier
If your makeup feels ageing, it may not be the products themselves. It may be the way they are being used.
- Applying too much foundation before checking what actually needs coverage.
- Using under-eye concealer that is much too pale.
- Powdering the entire face when only a few areas need setting.
- Placing blush low on the cheeks.
- Drawing brows too dark, square or long at the tail.
- Using thick liner that hides lid space.
- Putting shimmer directly on texture you would rather soften.
- Overlining lips heavily, especially at the corners.
The most flattering mature makeup usually has movement. Skin still looks like skin. Brows have softness. Colour sits high. Eyes are defined but not weighed down.
FAQ
Is cream makeup better than powder for mature skin?
Cream makeup often looks fresh on mature skin, especially for blush, bronzer and highlighter, because it can blend into the skin rather than sit on top. That said, powder still has a place. A light dusting can set concealer, control shine and help makeup last. The most flattering approach is often cream for colour and glow, powder only where needed.
How do I stop foundation settling into fine lines?
Use less foundation, prep with light hydration and avoid thick layers in crease-prone areas. After applying base, move your face naturally: smile, talk, look up, then tap away any product that has collected in lines. Set only those areas with a small amount of fine powder if needed.
What is the best blush placement for mature skin?
Place blush higher on the cheek rather than low on the apples. Look straight ahead with your face relaxed, apply colour no lower than the bottom of your nose and blend upward toward the temple. This creates a fresher, more lifted effect.
How should I do eyeliner on mature or hooded eyes?
Keep eyeliner close to the upper lash line and avoid making it too thick. Brown, charcoal, navy or plum can define the eyes without looking harsh. For hooded eyes, tightlining or smudging colour at the outer third often works better than a heavy liquid line across the whole lid.
What lipstick is most flattering for thinning lips?
Creamy, satin and balm-like lip colours are usually more forgiving than very dry matte lipsticks. Use a soft liner close to your natural lip tone or inner-lip flush to restore the border, then apply lipstick and add a touch of balm or gloss to the centre if you want a fuller effect.
Fresh makeup is about technique, not age
The best makeup tips for mature skin are not rules about what you are allowed to wear. If you love a bold lip, shimmer shadow or dramatic liner, wear it. The difference is learning how to adapt texture, placement and intensity so your makeup works with your face now.
Start with one change: higher blush, softer liner, lighter powder or more targeted concealer. Small adjustments can make your whole routine feel modern again, not because you are hiding age, but because you are letting your features shine through with ease.





Join the conversation
Sign in — Sign in to join the conversation.