
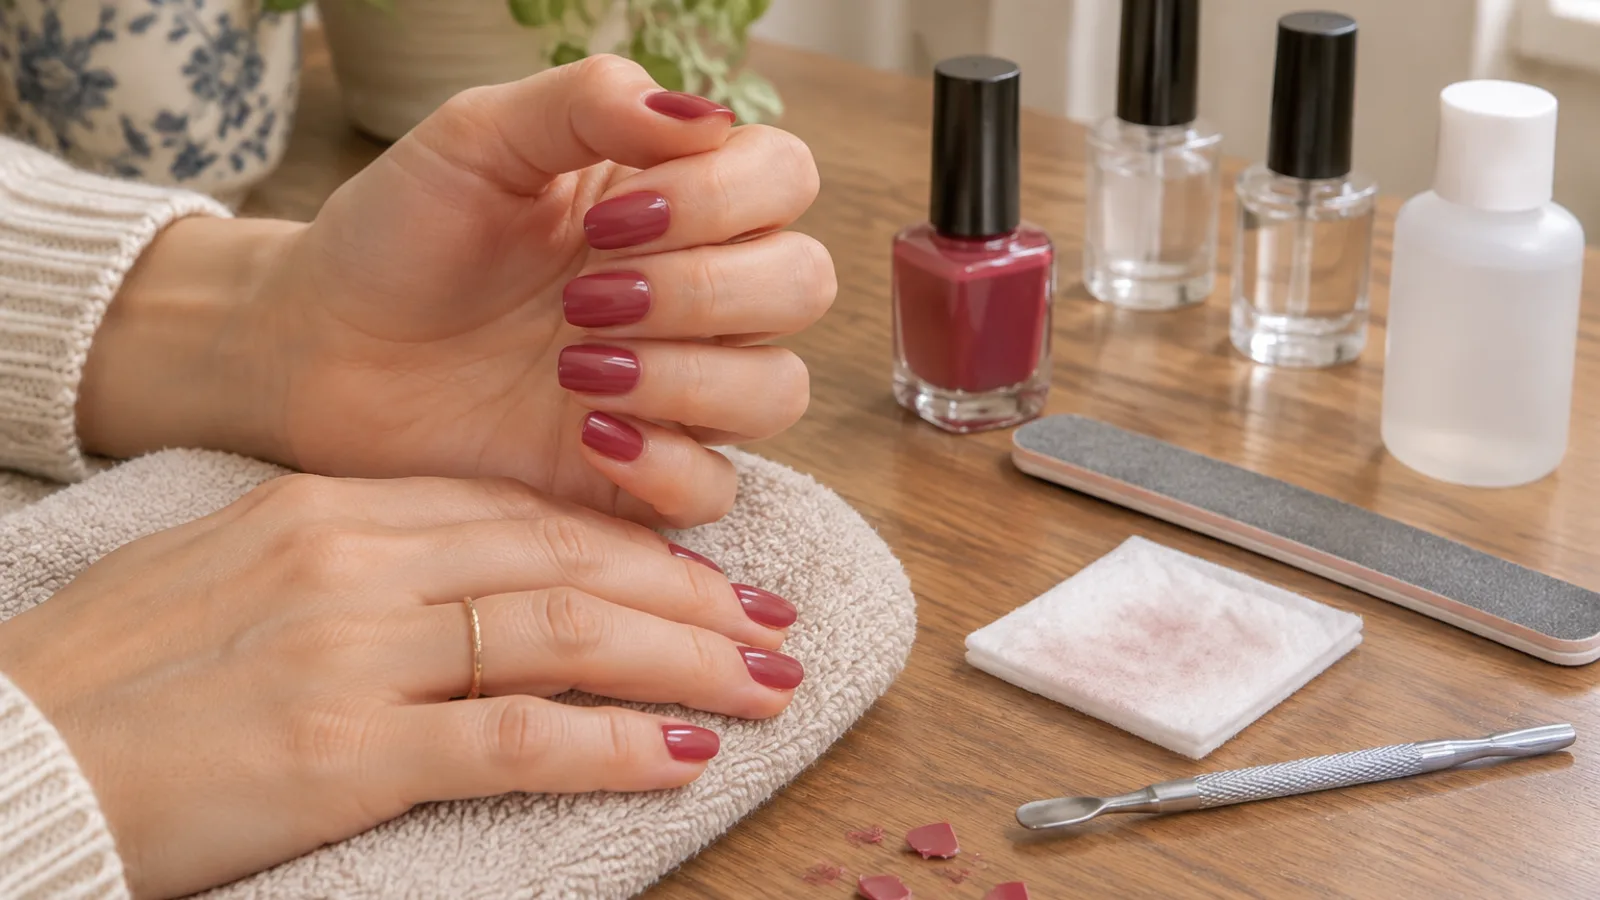
You do everything right. Base coat, two careful coats of colour, top coat — and by day two there is a chip at the corner of your index finger. By day four, you are picking the rest off out of frustration. The problem usually is not one single bottle. It is a small chain of mistakes that starts before the polish even touches your nails.
Understanding how to make nail polish last longer is less about buying a miracle formula and more about making the polish bond well, dry properly, and avoid stress in the first day or two. If you keep losing polish early, this is the part that matters: prep, application, drying, and what you do after the manicure is finished.
Start with a clean, dry nail plate
Polish adheres best to a nail that is clean, dry, and lightly textured. Anything left on the surface — hand cream, lotion residue, natural oil, dust from filing, or moisture — gets in the way of that bond. If your polish tends to peel in sheets, the problem is often here rather than in the colour itself.
Remove old polish completely
If there is any old colour left behind, remove it fully before starting over. A bit of shimmer tucked into the sidewall or under the free edge can stop a new manicure from sitting smoothly. If you have used glitter polish, expect to spend a little longer at this step.
For stubborn residue, use remover on a cotton pad and press it over the nail for a few seconds before wiping. That gives the solvent time to break down the pigment instead of making you scrub harder than necessary.
Dehydrate the nail right before you paint
Once the nail is clean, wipe each nail plate with a lint-free pad lightly dampened with isopropyl alcohol or, if needed, remover to clear away surface oils. Do this immediately before your base coat. If you wash your hands and then scroll your phone for ten minutes, you have already given oils and moisture time to come back to the surface.
Avoid overdoing acetone on natural nails if your plates are already dry or brittle. Acetone is useful for removing polish and residue, but for a quick prep wipe, alcohol is usually the gentler choice.
Shape carefully and buff lightly
File in one direction to reduce tiny splits at the edge of the nail. Those splits can catch on fabric and create the first chip. If your nails are naturally rough or ridged, a very light buff can help create an even surface for polish to grip. The key word is light. Over-buffing thins the nail and can make it more flexible, which can shorten polish wear.
Push back the cuticle gently before you start. Do not cut living skin. If polish gets onto the cuticle or side skin, it will lift there first as your hands move through the day.
Choose the right base for your nail type
Not all base coats do the same job. Some are designed to grip the nail strongly. Others smooth the surface or add flexibility. If your polish chips quickly, the base coat may be part of the answer.
Bonding base coats versus ridge-filling base coats
A bonding or adhesion base coat is made to help polish stick to the nail plate. If your nails are generally smooth and healthy but your manicure slips off quickly, this is often the better choice.
A ridge-filling base coat helps visually smooth lines and uneven texture. It can be useful if your nail plate has ridges, but it is not always the best option if your main issue is wear time. In some cases, a very thick smoothing base can create a softer foundation that chips sooner.
If you are unsure, start with a standard adhesion base and keep the layer thin. You want grip, not padding.
Do not skip the base coat, but do not overload it
A base coat should go on thinly and evenly. Think of it as a primer, not a cushion. Thick base layers stay soft longer and can pull away from the tip as the manicure flexes.
Apply polish in thin, controlled layers
This is the section most people want to skip, because it feels fussy. It is also where the longest-lasting manicures are made. A careful application keeps the polish smoother, harder, and less likely to lift.
Roll the bottle, do not shake it
Before you paint, roll the bottle gently between your palms instead of shaking it hard. Shaking traps air and can create tiny bubbles in the formula. Those bubbles can show up on the nail surface and weaken the smoothness of the coat. A smooth layer is more durable than a bubbly one.
Use the three-stroke method
For each nail, load the brush lightly and use three strokes: one down the centre, then one on each side. Start close to the cuticle without touching it, and pull the polish toward the tip in a controlled line. If the brush is overloaded, wipe off a little product first. A thinner first coat always cures better than a heavy one.
If the first coat looks sheer, that is normal. The second thin coat is what builds opacity.
Seal the free edge every time
After each coat — base, colour, and top — lightly run the brush across the very tip of the nail. This is called capping the free edge. It matters because the tip is where polish gets bumped, scraped, and worn down first. If you do only one thing to improve wear, make it this.
Leave a small margin around the cuticle
Do not flood the colour into the cuticle or sidewalls. A tiny clean border around the nail edge helps the polish move with the nail instead of sticking to skin that bends and sheds naturally. If you paint too close, the edges lift first and the rest follows.
Clean up mistakes before the polish dries. A small cleanup brush or orangewood stick wrapped with a bit of cotton and dipped in remover can tidy the edges without starting over.
Let each coat flash off before the next one
There is a difference between putting on polish quickly and putting on polish well. Thin coats need a little breathing room between them so the solvents can begin evaporating before the next layer goes on.
Give each coat a short pause
A practical rule is to wait about two to three minutes between thin coats, or until the surface loses its wet shine and looks slightly duller. That is usually enough time for the layer to settle without becoming too dry to bond well with the next one. If the room is humid or your coats are a little thicker, you may need a bit longer.
If you rush this step, the lower coat stays soft and the next one can slide over it, creating uneven wear later.
Drying is not the same as curing
One of the biggest mistakes home manicurists make is assuming that a nail that feels dry to the touch is fully ready for normal use. It is not. Polish can feel set on the surface while still being soft underneath.
Understand the vulnerable window
For a freshly painted manicure, the first several hours are the most vulnerable. The exact timing varies by formula, thickness, and room conditions, but the general idea is the same: the top may feel dry sooner than the layers beneath. That is why a manicure can look perfect and still dent when you press your nails together or reach into a bag too soon.
If you want a more durable finish, give yourself extra time. A little patience at the end saves a lot of frustration later.
What not to do while polish is drying
- Do not blow on wet nails. Breath adds moisture and can leave the surface uneven.
- Do not use a warm hair dryer. Heat can soften polish instead of setting it.
- Do not test dryness by pressing nails together. That is how you get dents.
- Do not dive into a hot shower or long soak right away. Water and heat can weaken the bond while the manicure is still settling.
What ice water really does
The ice-water trick is popular because it makes nails feel harder quickly, but it does not cure polish from the inside out. Regular polish dries mainly as solvents evaporate. Cold water can firm up the surface temporarily, which may reduce immediate smudging, but it does not finish the curing process faster. In some cases, it can give a false sense of readiness and lead to dents later.
In other words: it may change how the manicure feels, but it is not a shortcut to a longer-lasting finish.
Quick-dry products can help, with limits
Quick-dry top coats and drops are useful if you need the surface to harden faster. They help with early smudging and light contact. They do not, however, magically cure the polish all the way through. Think of them as a helpful finishing step, not a substitute for good prep and thin coats.
The first 24 hours matter most
After the polish looks dry, it still benefits from gentle treatment for the rest of the day. This is the period when many manicures fail because of heat, pressure, or water.
Protect the manicure from heat and water
Hot water softens polish and can weaken the bond while it is still finishing its cure. Wear gloves for washing dishes or cleaning. Keep showers shorter and not too hot. If you love a long bath, wait until the manicure is more fully set.
Be careful with pressure at the tips
Using nails as tools is a fast route to chipping. Opening packaging, scraping labels, digging through a bag, or prying at a lid puts force exactly where polish is most exposed: the free edge. Use the pad of your finger or an actual tool instead.
Typing, light phone use, and normal desk work are generally fine. The problem is repeated friction and leverage, not everyday movement.
How to make nail polish last longer day to day
Once the manicure has settled, a few small habits can stretch wear time noticeably.
- Wear gloves for cleaning. Detergents can be rough on both the polish and the skin around it.
- Use cuticle oil after the manicure is fully dry. Apply it to the skin around the nail and along the cuticle area. Healthy, flexible surrounding skin supports the manicure, and regular oiling helps keep the nail from feeling brittle.
- Refresh the top coat every two to three days. A thin layer reseals the surface and tip before wear becomes obvious.
- Avoid picking at tiny flaws. One lifted edge often becomes a full chip if you catch it with a fingernail.
- Keep hands moisturized. Dry skin makes nails feel harsher and can make chipping look worse faster, even when the polish itself is still holding.
What to do when the manicure starts to fail
Not every chip means the manicure is over. Small repairs can buy you a few extra days.
Patch small tip chips quickly
If a chip is small and only affects the tip, smooth the edge if needed, add a tiny amount of matching colour, let it set, then seal the whole nail with top coat. Finish by capping the tip again. This works best when the damage is minor and isolated.
Use glitter as a rescue layer
Glitter or shimmer can disguise patchiness better than a flat cream colour. If a manicure has started to look uneven but is not peeling badly, a careful glitter layer can make it look intentional and extend the wear.
Know when to start over
If the polish is lifting at the base or peeling in larger sections, patching usually will not hold. That kind of failure often points back to prep, not wear. A fresh start is faster than trying to rescue a manicure that has already let go.
For healthy nails in general, the American Academy of Dermatology recommends gentle care, avoiding harsh habits, and treating nails with the same attention you give skin and hair. See aad.org for more nail-care guidance.
Quick troubleshooting guide
If your manicure keeps failing in the same way, the pattern usually points to the cause.
- Peeling in one piece: the nail was likely not clean and oil-free before painting, or polish touched the cuticle skin.
- Chipping at the tips: the free edge was not sealed, or the tips are getting too much friction from daily habits.
- Wrinkling or bubbles: coats were too thick, the bottle was shaken, or you applied the next coat too soon.
- Dents hours later: the manicure looked dry before it was fully set, or it was exposed to pressure too early.
- Rough, uneven surface: the polish was applied too heavily or drying was interrupted by heat or moisture.
Frequently asked questions
How long does it actually take for nail polish to fully cure?
The surface may feel dry within minutes, but a full manicure usually needs many hours to harden properly. The exact timing depends on the formula, number of coats, humidity, and how thickly you applied it. Treat the first 12 to 24 hours as the most delicate period.
Why does my polish always chip at the tips first?
The tip is the most exposed part of the nail, and it takes the most friction. If you do not cap the free edge with every coat, wear usually starts there first. Repeating that sealing step is one of the simplest ways to make polish last longer.
Should I apply cuticle oil before or after polishing?
After polishing, once the manicure is fully set. Oil on the nail plate before painting interferes with adhesion. Afterward, oiling the skin around the nail helps keep the surrounding area flexible and comfortable without undermining the finish.
Does quick-dry top coat give the same wear as a regular one?
It helps with early drying and can reduce smudging, but it is not always the longest-wearing option. A standard top coat often gives a harder finish over time, while a quick-dry product is useful when speed matters. Both can work well if the rest of the manicure is done properly.
Can I make an already-chipping manicure last a few more days?
Sometimes. Small tip chips can be patched and resealed, especially if the rest of the manicure is still intact. If the polish is lifting from the base or peeling in sheets, the bond has usually failed and a fresh start will last longer than repeated fixes.
If you want how to make nail polish last longer to become a repeatable routine instead of a guessing game, focus on the boring-looking steps: clean the nail plate, use thin coats, seal the tip, wait between layers, and protect the manicure in the first day. Those details matter far more than chasing another bottle.





Join the conversation
Sign in — Sign in to join the conversation.