
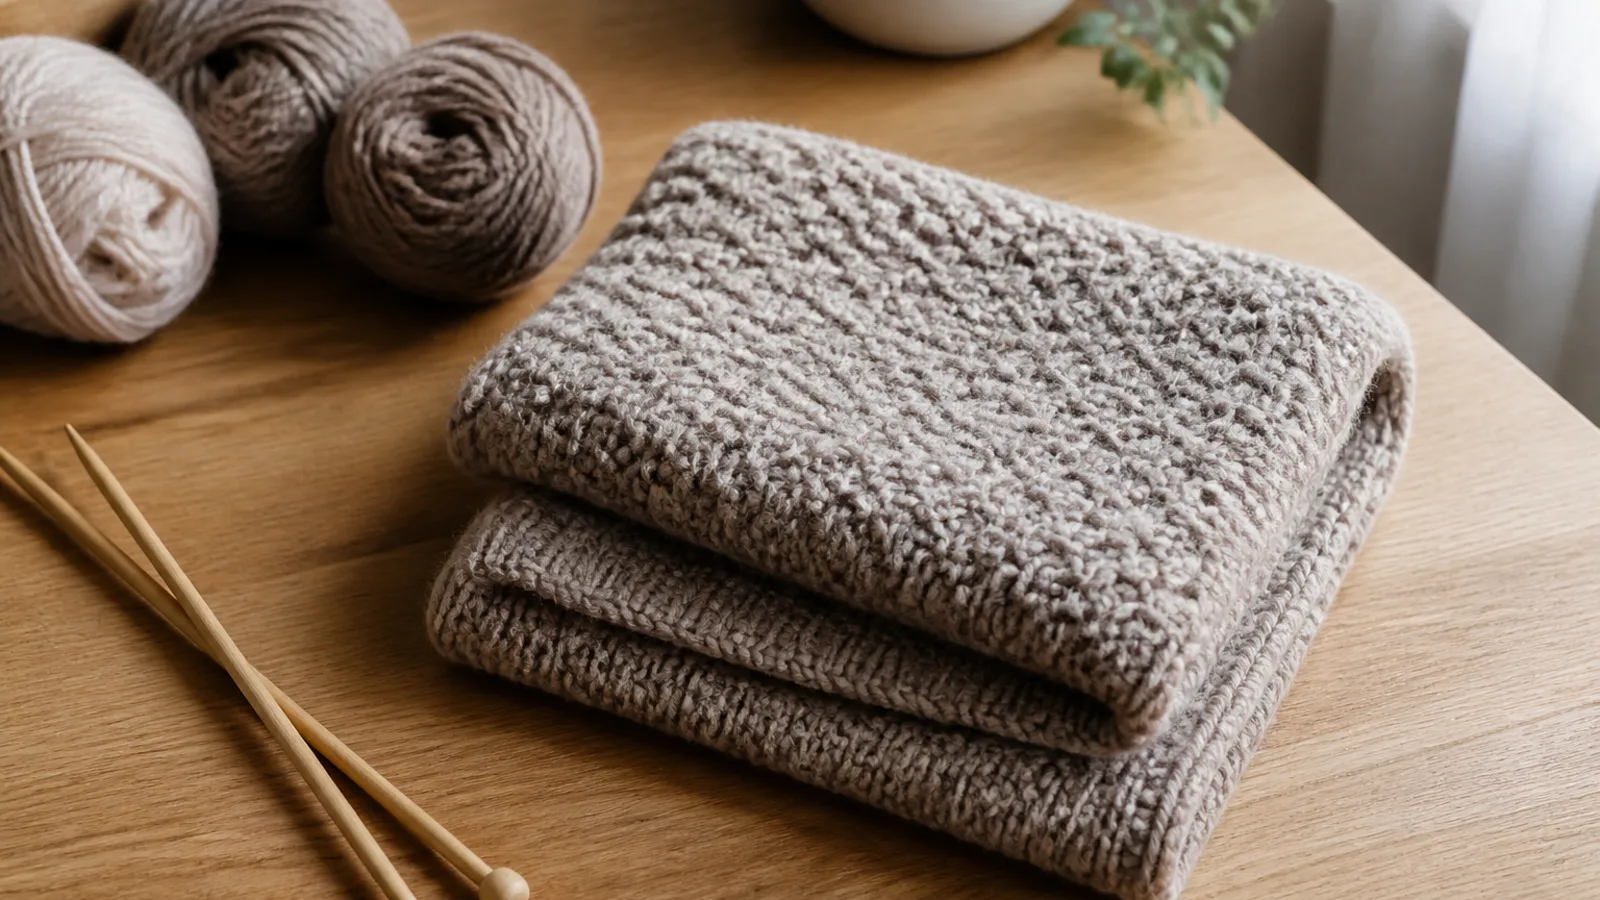
A knitted scarf can look refined without being complicated. In fact, some of the best-looking scarves are the simplest ones: even stitches, clean edges, and finishing that feels intentional. If you want your next scarf to look polished rather than rushed, the difference is usually in the details.
You do not need advanced techniques to get there. A thoughtful border, steady tension, and careful finishing can transform a basic project into something that looks ready to wear or gift. Here is how to make a knitted scarf look professional from the first row to the final weave-in.
What makes a knitted scarf look professional
A scarf looks polished when the fabric feels balanced and the edges look deliberate. That usually means four things: the stitches are consistent, the edges are neat, the shape hangs well, and the finish does not draw attention to itself.
Simple scarves can be surprisingly unforgiving. There is less patterning to distract the eye, so uneven tension or a messy bind-off stands out quickly. The goal is not perfection, but a finished piece that looks calm, clean, and thoughtful.
Think of it like tailoring. The scarf should feel like it was made with a plan, not just completed row by row.
Choose a stitch pattern that supports a clean finish
Some stitch patterns naturally look tidier than others. The best choice depends on how much texture you want and how much edge control you are willing to manage.
Garter stitch for an easy, flat result
Garter stitch is one of the easiest options and often one of the most forgiving. It lies flat, creates a soft texture, and gives a neat edge without much effort. If you want a classic scarf that feels relaxed but still intentional, this is a strong choice.
The trade-off is that garter can look very casual if the yarn is uneven or the tension changes a lot. To keep it polished, focus on consistency and a tidy finish.
Ribbing for a structured, tailored look
Ribbing creates a neat fabric that holds its shape well. It can make a scarf look sharper and more tailored than a plain flat stitch. A ribbed scarf often feels practical and refined at the same time.
This is a good option if you want the scarf to have a bit of bounce and structure. The only downside is that uneven ribs are easy to spot, so this stitch works best when your tension is fairly steady.
Seed stitch for texture that hides minor unevenness
Seed stitch adds subtle texture without feeling busy. It also disguises small tension differences better than many smooth stitch patterns. The result is balanced and tactile, which can make a simple scarf feel more elevated.
If you want a scarf that looks handmade but not rustic, seed stitch is often a very forgiving middle ground.
Stockinette with a border for a sleek look
Stockinette can look modern and clean, but it curls at the edges. That means it usually needs a border to look finished. Without one, the fabric can seem incomplete even if the knitting itself is even.
If you choose stockinette, plan the border before you start so the whole scarf looks intentional from the beginning.
Use borders to frame the knitted scarf
One of the easiest ways to make a knitted scarf look more professional is to give it a border. Borders help define the edges, reduce curling, and create a visual frame that makes the whole piece feel finished.
Without a border, some scarves can look a little soft around the edges. With one, they feel more structured and deliberate.
Why borders matter
A border gives the eye a clean line to follow. It also creates a transition between the edge and the main fabric, which is especially useful on simple scarves where every detail is visible.
Borders can also make minor edge irregularities less noticeable. If your edge stitches are not perfectly even, the border can help smooth the overall impression.
Border styles that work well
- Garter-stitch borders for a soft edge that stays flat.
- Seed-stitch borders for a subtle textured frame.
- Ribbed borders for a more structured, tailored look.
- Slip-stitch edges for a crisp line if you are comfortable with the technique.
The best border depends on the scarf style and the yarn. A chunky yarn may only need a narrow frame, while a finer yarn can usually handle a slightly wider border without looking heavy.
How wide should the border be?
There is no single correct answer. A narrow border can look minimal and modern, while a wider border can feel more substantial and tailored. The key is proportion.
If you are unsure, start with something modest. A border that is too wide can compete with the main fabric, while one that is too narrow may not do enough to define the edges.
Keep tension even from cast-on to bind-off
Even tension is one of the biggest differences between a scarf that looks homemade and one that looks polished. When stitch size changes noticeably, the fabric can look wavy, slightly distorted, or uneven at the sides.
You do not need perfectly identical stitches. What matters is consistency. The scarf should look balanced, with no obvious shifts from row to row.
Practical ways to improve tension
- Choose needles that suit both the yarn and your knitting style. If your stitches feel too tight or too loose, the needle size may be part of the problem.
- Keep the working yarn at a steady, comfortable tension. Pulling too hard after each stitch can make the fabric stiff.
- Watch your edge stitches. The first and last stitch of each row are often where tension issues show up first.
- Pause and reset if your grip changes. Tension often shifts when you get tired or distracted, so a short break can help.
A useful habit is to compare a few rows as you go instead of waiting until the scarf is finished. Lay the work flat now and then. If one section looks noticeably tighter or looser than another, you can catch the issue early.
What uneven tension looks like
- One edge looks looser than the other.
- Rows appear wider or narrower than the rest.
- The fabric flares or pinches in the middle.
- Stitch sizes shift noticeably from one section to the next.
If the problem is mild, blocking may help even things out. If the shape is being affected, it is usually better to correct it before finishing.
Cast on and bind off neatly
The first and last rows frame the whole project. A neat cast-on and a thoughtful bind-off can make a scarf look much more polished, while a sloppy edge can undo careful knitting in the middle.
These ends do not need to disappear. They just need to look intentional and balanced.
Choose a cast-on that suits the scarf
A stretchy cast-on works well for ribbed scarves or pieces that need a little give. For a more structured scarf, a neater and firmer cast-on may look sharper. The main thing is to avoid an edge that is either too tight to sit well or so loose that it looks messy.
If you are new to knitting, practice the cast-on before you begin the scarf. A consistent edge can improve the appearance of the entire piece.
Bind off with the same care
The bind-off should match the character of the scarf. If it is too tight, the edge can look puckered and stiff. If it is too loose, the end may flare awkwardly.
A good bind-off creates a clean edge with enough flexibility for the scarf to drape naturally. In many cases, a slightly relaxed bind-off looks better than one pulled tight.
It helps to compare both ends when you are done. They do not have to match exactly, but they should feel visually balanced.
Block the scarf so it lies well
Blocking is one of the most effective ways to improve the look of a finished scarf. It helps even out stitches, relax the fabric, and make borders sit properly.
For a simple project, blocking can be the difference between “pretty good” and truly polished.
What blocking does
Blocking will not fix every issue, but it can smooth many small ones. It helps the fabric settle into its final shape, which is especially useful if the scarf has texture, curling edges, or slight tension changes.
It is also a good finishing step before gifting, because it tends to make the scarf look cleaner and more deliberate.
How to block safely
The right method depends on the fiber. Many wool scarves respond well to wet blocking, where you dampen the piece, shape it, and let it dry flat. Some delicate fibers need a lighter touch, and acrylic usually needs extra caution because heat can distort it.
If you are unsure, check the yarn label or the manufacturer’s care instructions. When in doubt, use the gentlest method that still allows the scarf to relax into shape.
A careful block will not make a flawed scarf perfect, but it can make a good scarf look much more finished.
Choose yarn that supports the look you want
Yarn choice has a huge impact on how refined a scarf looks. A smooth, even yarn usually shows stitch definition clearly, while heavily textured or fuzzy yarns can hide the structure of the fabric.
If your goal is a polished look, choose yarn that works with the stitch pattern instead of competing with it.
What to look for in yarn
- Even spinning so the stitches look consistent.
- Good drape so the scarf hangs well.
- Clear stitch definition if you want the pattern to show.
- A color that flatters the texture rather than overwhelming it.
Solid shades and gentle tonal yarns often look especially neat in simple scarf patterns. That does not mean you have to avoid texture or color variation, only that the yarn should support the final effect you want.
Finish the details with care
Small finishing steps often decide whether a scarf looks refined or rushed. Even a beautiful knit can look unfinished if the ends are bulky or the surface is left messy.
Weave in the ends neatly
Loose ends should be secured discreetly, not left as little bumps on the wrong side or near the edges. Take your time with this step so the finishing blends into the fabric as much as possible.
If your yarn splits easily or sheds a little, this matters even more. Bulky knots and obvious joins can distract from the rest of the scarf.
Trim and inspect the fabric
Before you wear or gift the scarf, check both sides under good light. Trim stray fibers and look for any small irregularities that can be smoothed out. A few careful adjustments often make the piece feel much more intentional.
Add fringe only if it suits the style
Fringe can add movement and finish, but it should be even and restrained. Too much fringe can make a simple scarf feel busy. If you add it, keep the lengths consistent and place it carefully.
Not every scarf needs fringe. In many cases, a clean edge looks more modern and polished.
A simple quality check before you call it done
Before finishing, hold the scarf up and ask a few practical questions:
- Do the edges run straight?
- Does the fabric look even from end to end?
- Does it drape cleanly or lie flat as intended?
- Do the cast-on and bind-off ends feel balanced?
- Would this look good as a gift without extra explanation?
If the answer is yes, the scarf is probably ready. If not, it may only need a little more blocking or a more careful finish, not a full restart.
The goal is not perfection in an abstract sense. The goal is a scarf that looks deliberate, wearable, and beautifully made.
FAQ
What is the easiest stitch pattern for a knitted scarf that still looks professional?
Garter stitch is one of the easiest options because it lies flat and creates a neat, consistent texture. Seed stitch is another good choice if you want a little more texture without making the scarf look busy.
How do I stop the edges of my knitted scarf from curling or looking uneven?
Use a border, keep your tension even, and choose a stitch pattern that naturally lies flat. Blocking can also help, especially if the scarf is made in stockinette or another fabric that tends to curl.
Should I block a knitted scarf before gifting it?
In most cases, yes. Blocking helps the scarf settle into its final shape and often improves the overall finish. It is especially useful if you want the piece to look clean and polished.
What is the best bind-off for a scarf that needs to drape well?
A bind-off that is slightly relaxed usually works best. If it is too tight, the scarf can look puckered or stiff. The goal is a clean edge that still allows the fabric to hang naturally.
How can I make a beginner scarf look more polished without starting over?
Focus on the finishing details. Block the scarf, weave in the ends neatly, trim stray fibers, and check the edges for consistency. In many cases, those steps make a bigger difference than changing the pattern.
A well-finished knitted scarf does not need fancy techniques to look impressive. With clean borders, even tension, and thoughtful finishing, even a simple project can look polished, wearable, and beautifully made. If you want your next scarf to feel more elevated, focus less on complexity and more on the details that shape the final impression.





Join the conversation
Sign in — Sign in to join the conversation.